
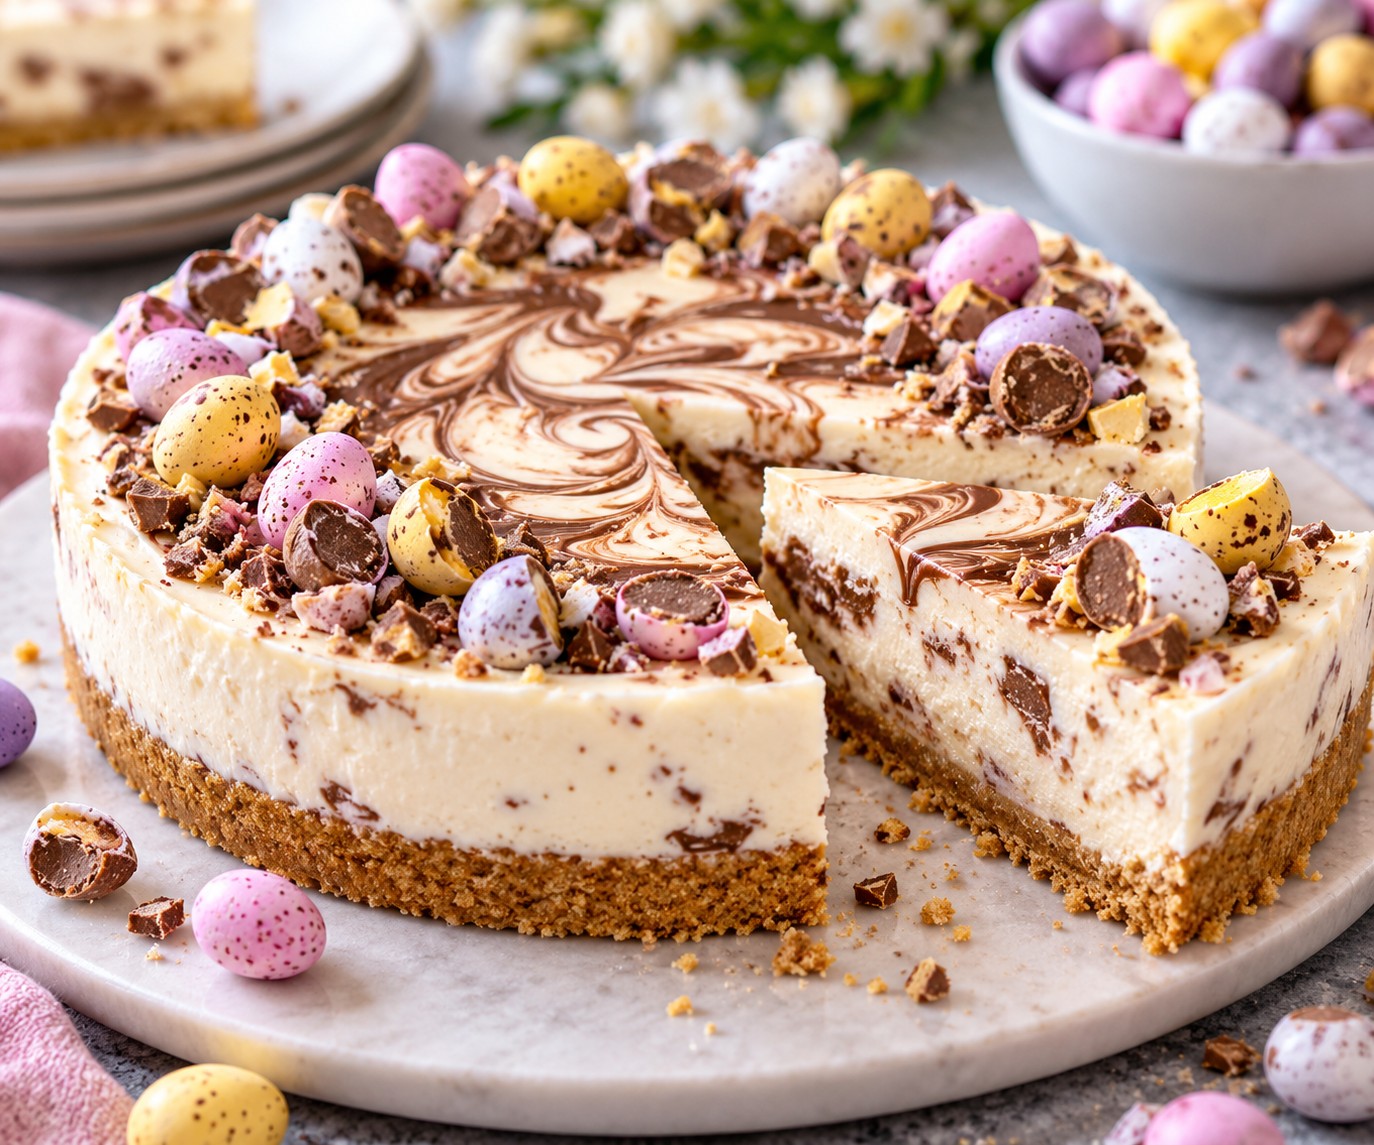
This Mini Egg cheesecake is a creamy, no-bake dessert with a crunchy digestive biscuit base, delicate chocolate swirls and a colourful Mini Egg topping. Made with Greek yoghurt and soft cheese, it is a lovely make-ahead treat for Easter gatherings, family celebrations or a weekend dessert.
The filling takes just a little time to prepare, then the fridge does the rest. For the neatest slices, make the cheesecake the day before you plan to serve it.
Recipe Details
- Servings: 10 slices
- Preparation time: 20 minutes
- Chilling time: At least 4–6 hours, preferably overnight
- Cooking time: Approximately 5 minutes to melt and warm the ingredients
- Equipment: 20cm springform cake tin
Ingredients
Biscuit base
- 10 wholemeal digestive biscuits (approximately 140–150g)
- 50g low-fat baking spread, melted
For the cheesecake filling
- 4 gelatine leaves, or the quantity recommended on the packet for setting approximately 750g of dairy filling
- 600g fat-free natural Greek yoghurt, divided
- 150g extra-light plain soft cheese
- 1 tsp vanilla extract
- 2 tbsp granulated sweetener suitable for cold desserts, or to taste
- 30g milk chocolate, melted and cooled slightly
For the topping
- 10 Cadbury Mini Eggs, roughly chopped
How to Make Mini Egg Cheesecake
1. Prepare the biscuit base
Line the base of a 20cm springform cake tin with baking parchment.
Crush the digestive biscuits into fine crumbs using a food processor or a rolling pin. Mix with the melted spread until evenly coated.
Press the mixture firmly into the base of the tin using the back of a spoon. Refrigerate for at least 30 minutes while you prepare the filling.
2. Soften the gelatine
Place the gelatine leaves in a bowl of cold water and leave to soak for approximately 5 minutes, or according to the packet instructions.
Once softened, lift them out and gently squeeze away the excess water.
3. Prepare the cheesecake filling
Place 400g of the Greek yoghurt in a large mixing bowl. Add the soft cheese, vanilla extract and sweetener, then whisk until smooth and creamy.
Put the remaining 200g of yoghurt in a small saucepan and warm gently over a low heat. Do not allow it to boil.
Remove the saucepan from the heat. Add the softened gelatine and stir until completely dissolved. Allow the mixture to cool slightly, but do not leave it long enough to begin setting.
4. Combine the filling
Gradually whisk the warm gelatine mixture into the bowl of cheesecake filling until thoroughly combined.
Make sure the gelatine is evenly distributed, as this will help the cheesecake set consistently.
5. Create the chocolate swirls
Spoon a little of the cheesecake filling into a separate bowl and gradually stir it into the melted, slightly cooled chocolate until smooth.
Pour the plain filling over the chilled biscuit base. Add small spoonfuls of the chocolate mixture across the surface.
Use a skewer or the tip of a knife to gently swirl the chocolate through the filling. Avoid overmixing so the pattern remains visible.
6. Chill until set
Smooth the surface if needed, then cover the tin and refrigerate for at least 4–6 hours, preferably overnight.
The cheesecake should feel firm and hold its shape before you remove it from the tin.
7. Decorate and serve
Carefully release the springform tin and transfer the cheesecake to a serving plate.
Scatter the roughly chopped Mini Eggs over the top just before serving. Slice into 10 portions using a sharp knife, wiping the blade between cuts for a neat finish.
Tips for the Best No-Bake Cheesecake
- Check your gelatine packet. Leaf size and setting strength vary between brands, so follow the manufacturer’s guidance for the amount of filling.
- Do not boil the yoghurt. Gentle heat is enough to dissolve the softened gelatine.
- Avoid adding very hot chocolate directly to cold yoghurt. Mixing it with a little filling first helps create smoother swirls.
- Chill overnight if possible. This makes the cheesecake easier to remove from the tin and slice.
- Add Mini Eggs just before serving. This keeps their colourful shells looking fresh and prevents them from softening in the fridge.
Easy Variations
Extra chocolate: Add a little grated milk chocolate over the top alongside the Mini Eggs.
Vanilla cheesecake: Leave out the melted chocolate for a simple vanilla filling with a Mini Egg topping.
Different biscuit base: Replace the wholemeal digestives with regular digestive biscuits, using approximately the same weight.
Seasonal topping: Outside Easter, replace the Mini Eggs with fresh berries or a little chopped chocolate.
Can You Make Mini Egg Cheesecake Ahead?
Yes. This cheesecake is ideal for preparing the day before serving. Leave it covered in the fridge overnight and add the Mini Egg topping shortly before bringing it to the table.
How to Store Mini Egg Cheesecake
Store the cheesecake covered in the fridge at 5°C or below and enjoy within 3 days. Keep any leftover slices refrigerated rather than leaving them at room temperature.
Freezing is not recommended, as the yoghurt-based filling may become watery or grainy when thawed.
Frequently Asked Questions
Does Mini Egg cheesecake need baking?
No. This is a no-bake cheesecake. The gelatine helps the yoghurt and soft cheese filling set in the fridge.
Why has my cheesecake not set?
The gelatine may not have dissolved fully, or the quantity may not have been sufficient for the particular brand used. Check the packet instructions and allow the cheesecake enough time to chill.
Can I use regular Greek yoghurt?
Yes. Full-fat Greek yoghurt can be used for a richer filling, although the finished texture may differ slightly.
When should I add the Mini Eggs?
Add them just before serving for the best appearance and crunch.
More Homemade Desserts to Try
If you enjoy easy homemade desserts, try our Baked Egg Custard with Orange and Berries for a gently spiced make-ahead pudding, or our Apple Betty for a comforting fruit dessert.
A Lovely Easter Dessert to Share
With its creamy vanilla filling, chocolate swirls and colourful topping, this Mini Egg cheesecake makes an inviting centrepiece for an Easter table. Prepare it ahead of time, then decorate and slice when you are ready to serve.