Delight in a Nutrient-Packed and Easy-to-Make Tortilla Quiche
This nutritious and flavorful tortilla quiche is perfect for breakfast, brunch, or a light lunch. It’s packed with protein, vitamins, minerals, and antioxidants.
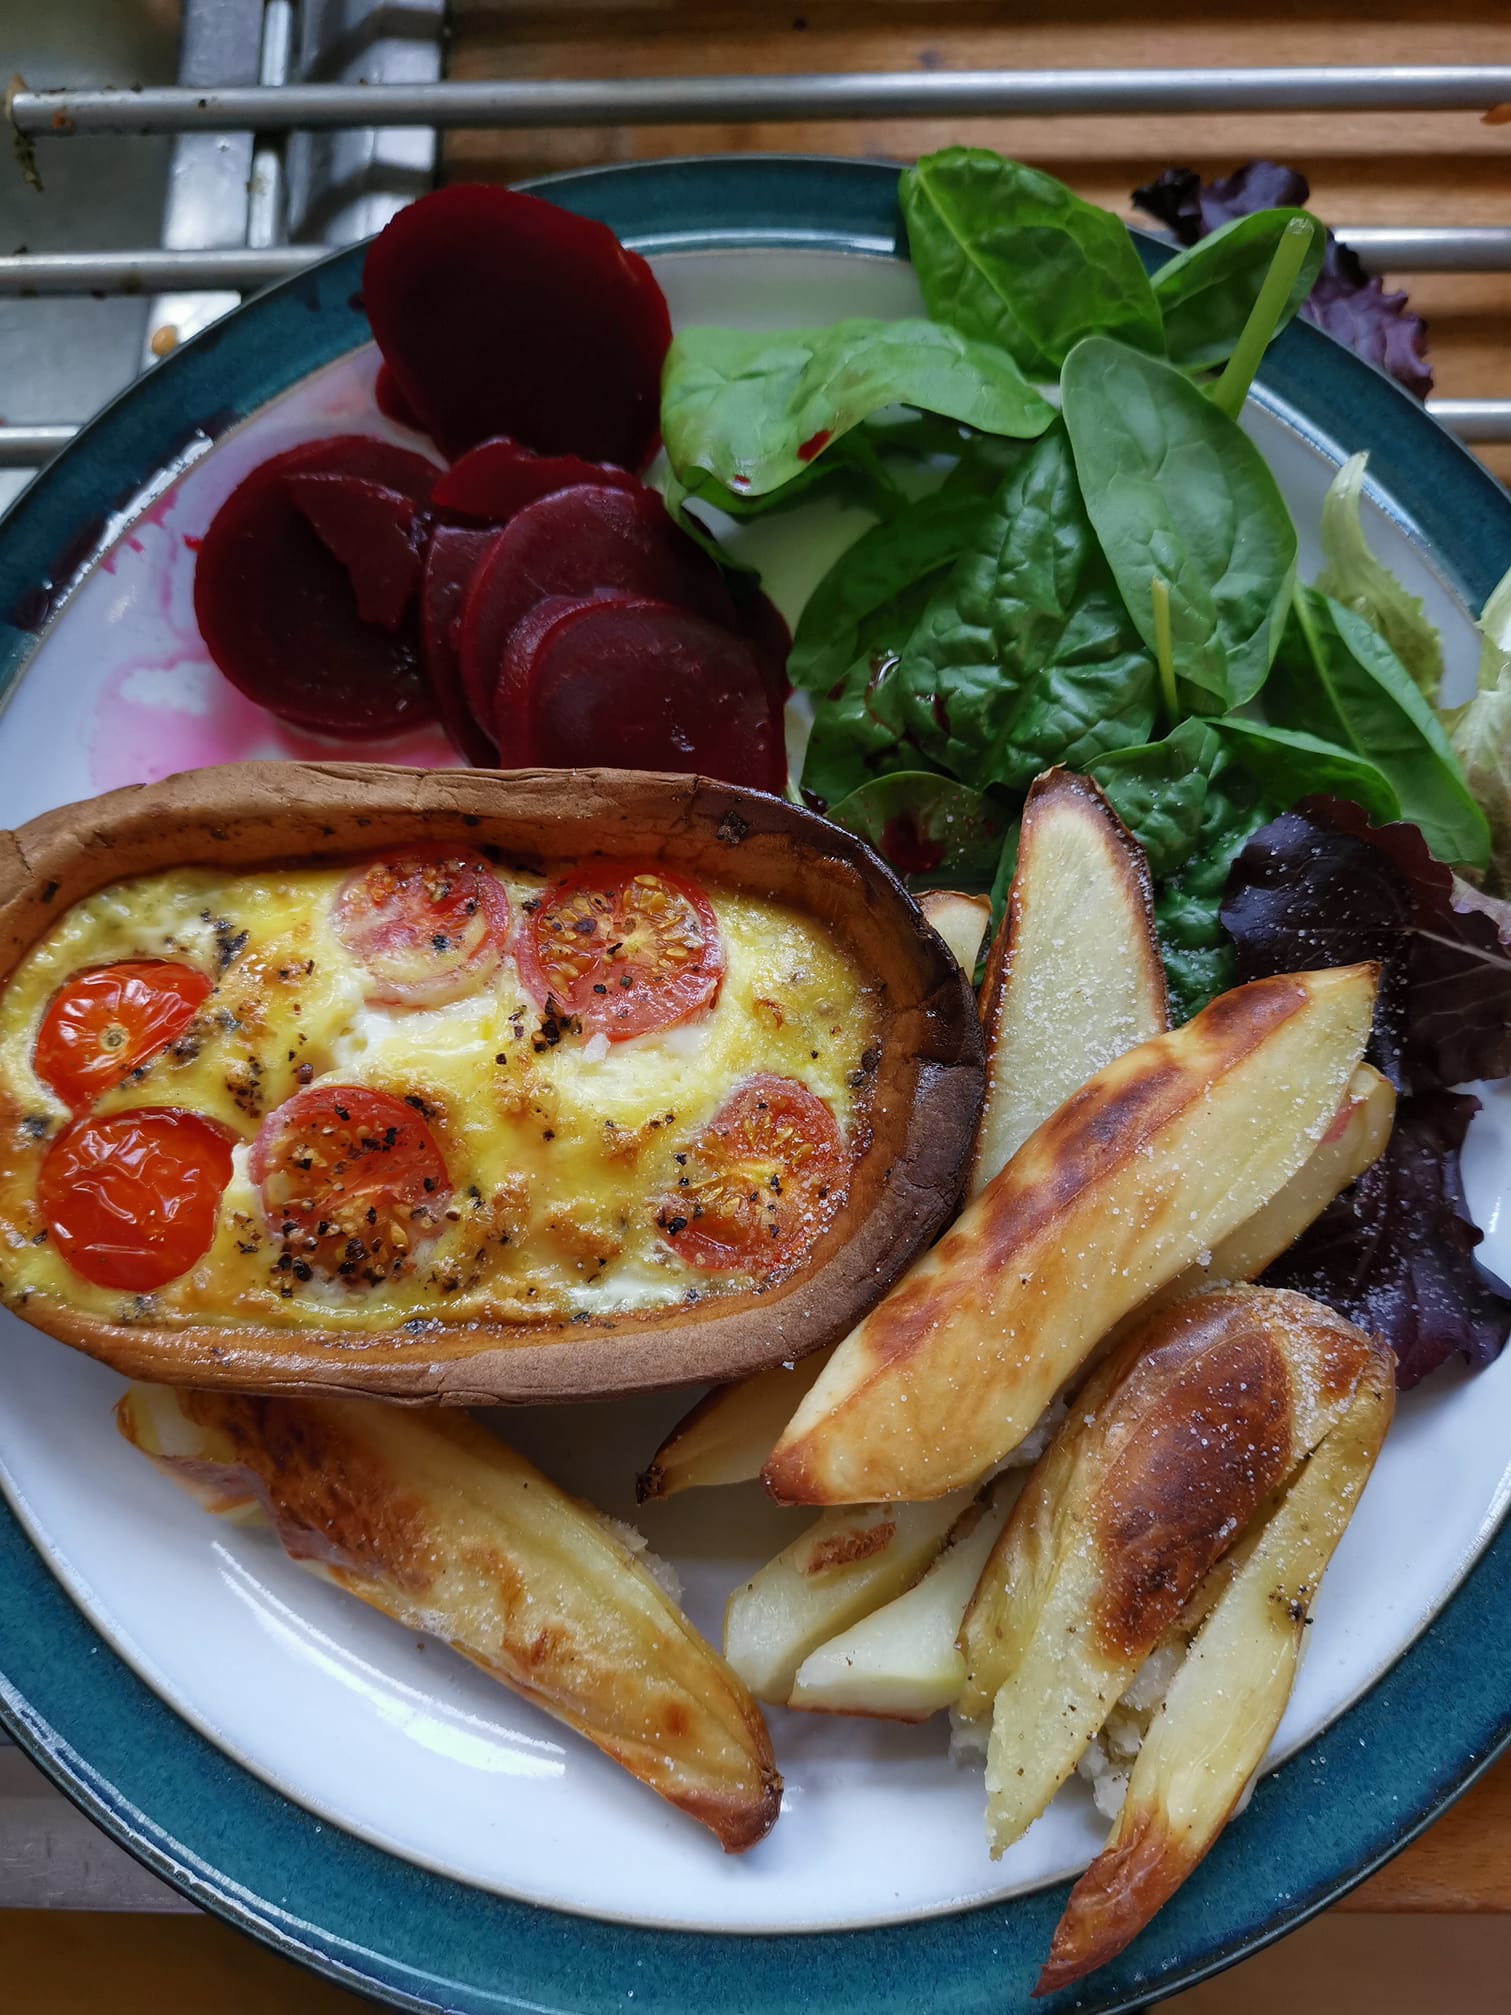
A quiche is a savory pastry consisting of a custard or flan base topped with a variety of fillings, such as cheese, vegetables, meats, or seafood. It is typically baked until the custard is set and the fillings are cooked through. Quiches are a popular dish for breakfast, brunch, lunch, or dinner.
Craving a wholesome and satisfying meal that’s quick and convenient? Look no further than this delectable tortilla quiche, a symphony of flavors and nutrients that will tantalize your taste buds and nourish your body.
Keywords: tortilla quiche, healthy breakfast, quick and easy meal, whole wheat tortilla, spinach, bell pepper, cherry tomatoes, protein, vitamins, minerals, antioxidants
Definition of Quiche
A quiche is a savory tart or pie made with a pastry crust filled with eggs, milk, cheese, and various other ingredients, such as cooked vegetables, meats, or seafood. It originated in France and is traditionally served for brunch or lunch. Quiches are versatile dishes that can be customized to suit individual tastes and dietary needs.
Benefits of Eating Quiche
- High in Protein: Eggs are a rich source of protein, which is essential for building and repairing tissues, maintaining muscle mass, and supporting a healthy metabolism.
- Low in Calories: Quiches can be a relatively low-calorie meal, especially when using lean protein sources and a light pastry crust.
- Packed with Nutrients: Eggs, milk, and cheese provide a variety of essential nutrients, including calcium, vitamin D, iron, and riboflavin.
- Versatility: Quiches can be customized with a wide range of ingredients, making them a versatile option for breakfast, lunch, or dinner.
- Tips for Making Quiche
- Use a high-quality pastry crust: A well-made pastry crust is essential for a flaky and flavorful quiche.
- Overmix the eggs: Overmixing the eggs can result in a rubbery texture. Whisk them gently until just combined.
- Don’t overbake: Quiche is done when the eggs are set but still slightly jiggly. Overbaking can make the eggs rubbery and tough.
- Let the quiche rest: Allow the quiche to rest for 10-15 minutes before slicing to allow the flavors to meld and the filling to set.
- Serve with fresh herbs or garnishes: Garnish your quiche with fresh herbs, such as parsley or chives, for a touch of color and flavor.
Ingredients:
- 4 large, free-range eggs
- 1 medium-sized whole-wheat or low-calorie tortilla
- 1 diced red bell pepper
- 1 diced small onion
- 2 cups of fresh spinach, roughly chopped
- 4-6 halved cherry tomatoes
- Sea salt and freshly ground black pepper to taste
- Cooking spray or a drizzle of olive oil for greasing
Go to the next page to get the Instructions